
Why Primer Is Important Before Painting
Applying primer before painting offers several key benefits:
Improves Paint Adhesion: Ensures the paint sticks firmly to the wall and prevents peeling or flaking.
Seals Porous Surfaces: Plaster and putty absorb liquids unevenly; primer regulates this suction so paint spreads smoothly.
Increases Paint Coverage: Prevents excessive paint absorption into the wall, saving paint and labor costs.
Blocks Stains & Discoloration: Stops water marks, patches, and old wall stains from bleeding through the topcoat.
Enhances Color Depth & Uniformity: Provides a neutral, consistent background so the true paint color shines.
How to Choose the Right Primer for Interior Walls
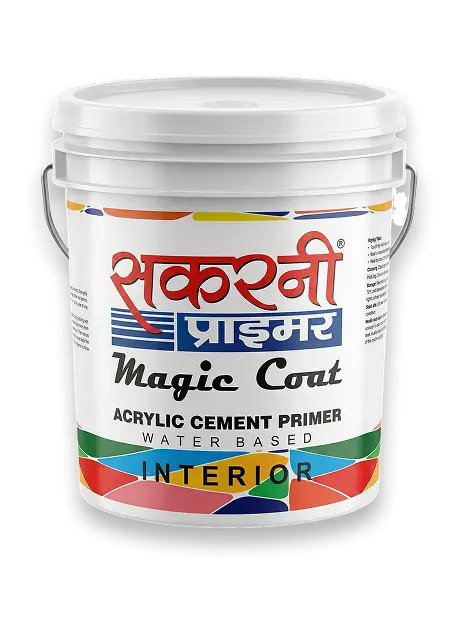
Since interior walls are protected from rain and harsh sunlight, the focus indoors is on surface sealing, finish quality, and paint adhesion.
1. Check Whether the Wall Is New or Old
For New Interior Walls: Fresh plastered or putty-finished walls are porous and absorb paint unevenly. Choose an interior primer specifically formulated for fresh plaster, putty, or cement-based surfaces to seal porosity.
For Old / Repainting Walls: Existing walls often carry dust, chalking, minor stains, or patched areas. Choose an interior primer that enhances adhesion over existing paint and repaired patches.
2. Look at the Surface Condition
If the wall is smooth, dry, and clean, a standard water-based interior wall primer is sufficient.
If the surface is chalky or powdery, scrape and clean thoroughly before applying primer.
Note: Primer supports paint performance, but it cannot fix structural defects or active dampness by itself.
3. Choose Primer Based on Paint Type
For most water-based emulsions and distempers, use a high-quality water-based interior acrylic primer.
When applying premium or luxury emulsions, use a compatible primer that levels the surface for a rich, uniform sheen.
4. Use Primer After Putty Application
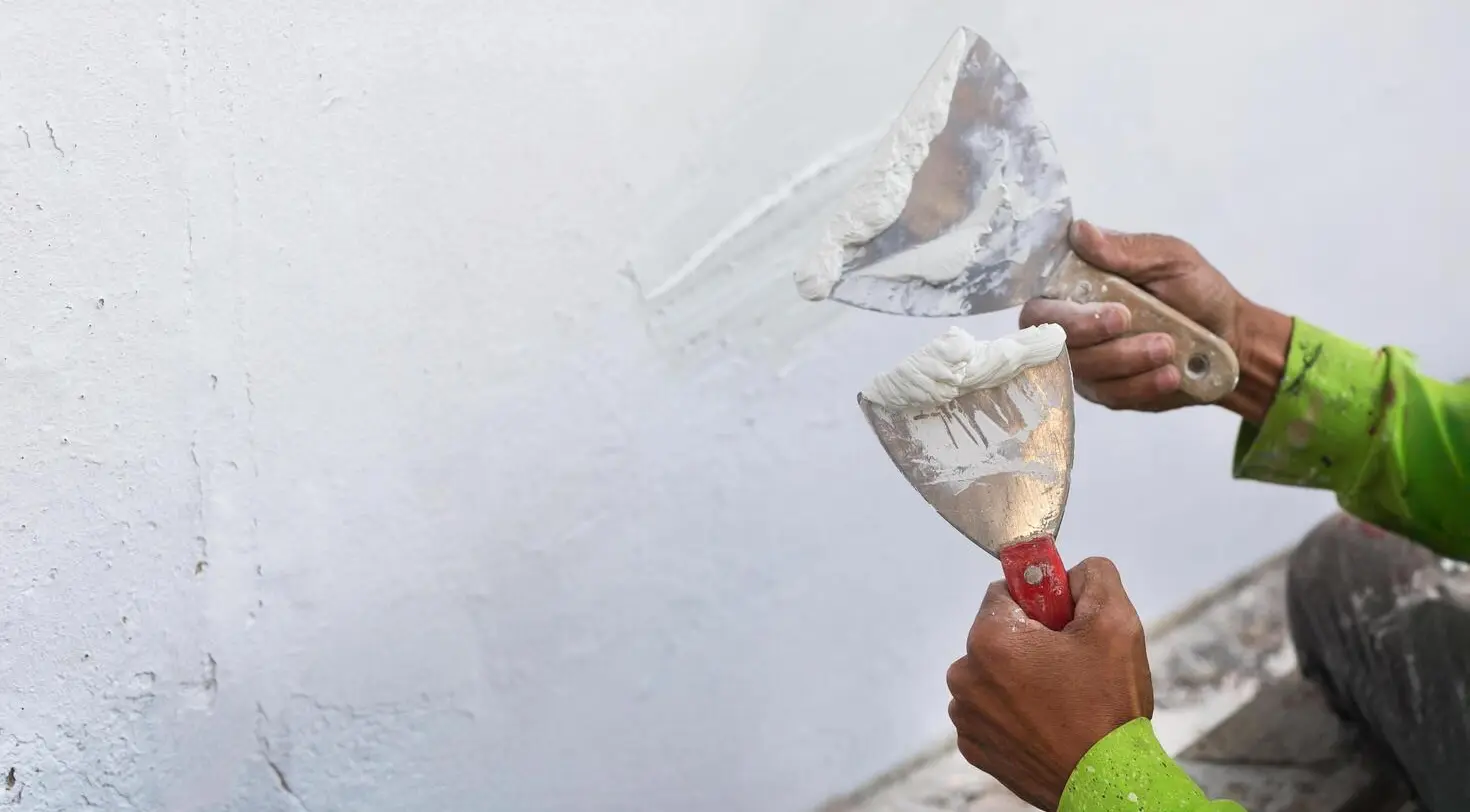
Applying primer after wall putty (and light sanding) is essential. It seals the fine putty dust, locks the smooth finish, and prevents the wall from soaking up the expensive topcoat.
5. Consider Stain-Blocking Primer for Problem Areas
If walls have persistent smoke marks, water patches, grease spots, or ink stains, apply a specialized stain-blocking primer to prevent them from showing through fresh paint.
How to Choose the Right Primer for Exterior Walls
Exterior walls are exposed to severe atmospheric stress. An exterior primer must resist weather, moisture, dust, and temperature shifts.
1. Choose a Weather-Resistant Exterior Primer
Always use a dedicated exterior acrylic primer designed for outdoor durability. Never use an interior primer outdoors, as it cannot handle UV rays and rain.
2. Check for Dampness and Seepage First
Inspect exterior walls for structural cracks, water seepage, or dampness. Any underlying leakage must be repaired and waterproofed before primer application; otherwise, the entire paint system will blister and peel.
3. Use Primer Suitable for Cement Plaster and Masonry
Exterior masonry and cement plaster are highly alkaline and porous. A dedicated exterior primer neutralizes surface alkalinity (efflorescence resistance) and seals porous textures.
4. Select Primer Based on the Final Paint System
Match your primer with the planned exterior topcoat (e.g., standard exterior emulsion, weather-proof paint, or elastomeric/textured coatings) as recommended by the manufacturer.
5. Look for Anti-Algae and Anti-Fungal Properties
In regions with heavy monsoon seasons or high humidity, choose an exterior primer with built-in anti-fungal and anti-algal additives to prevent black patches and mold growth.
Interior Primer vs. Exterior Primer: The Core Difference
Interior Primer: Engineered for aesthetic smoothness, low odor, fast drying, uniform absorption control, and adhesion under indoor conditions.
Exterior Primer: Engineered for tough weather resistance, moisture protection, alkali resistance, UV stability, and outdoor mechanical grip.
Best Practices: How to Apply Primer Correctly
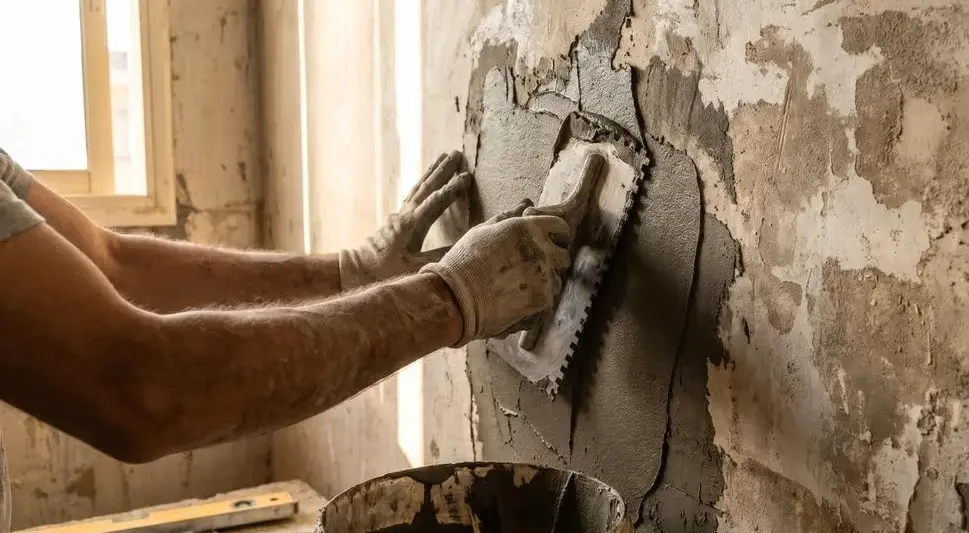
Surface Cleaning: Thoroughly clean dust, grease, loose paint flakes, and mold using a wire brush or sandpaper, followed by washing and complete drying.
Crack & Patch Repair: Fill all cracks and surface imperfections with appropriate repair mortar or exterior/interior putty.
Check Moisture Levels: Ensure the surface is completely dry before primer application.
Follow Dilution Ratios: Always mix water or thinners strictly according to the product data sheet—never over-dilute.
Allow Proper Drying Time: Let the primer coat dry completely (typically 4–6 hours, depending on weather) before applying the first coat of paint.
Final Thoughts
A great paint finish is never just about picking the right color; it is about building a strong, reliable base.
Choosing the correct primer for your specific wall condition—interior or exterior, new or repainted—ensures maximum paint coverage, vibrant color pay-off, and long-lasting protection against peeling and weathering.