
Why Proper Wall Putty Application Matters
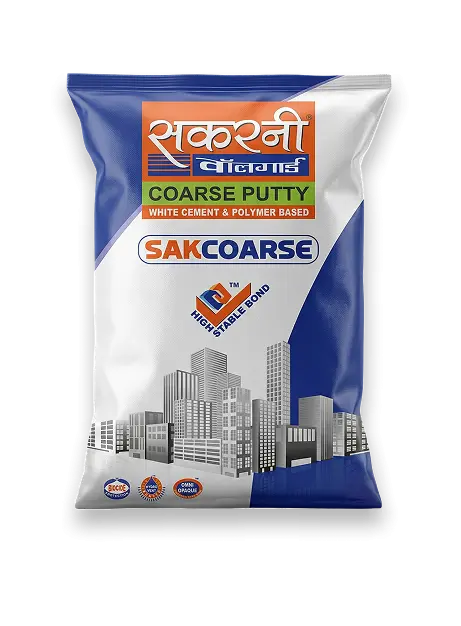
Wall putty is not meant for structural leveling; it is designed to create a smooth surface texture.
Applying it correctly ensures:
Strong Paint Adhesion: Prevents topcoat delamination and flaking.
Uniform Paint Absorption: Stops patchy spots and uneven sheen.
Flawless Smooth Finish: Eliminates pinholes, trowel marks, and rough plaster grains.
Cost Efficiency: Reduces excessive paint consumption by sealing base porosity.
8 Common Wall Putty Application Mistakes to Avoid
1. Applying Putty Directly on a Dusty or Oily Surface
The Mistake: Applying putty over uncleaned plaster, loose sand particles, grease, or efflorescence (white salt marks).
The Impact: Putty cannot form a mechanical bond with the wall, leading to hollow sounds and peeling.
The Fix: Thoroughly scrape the wall with a wire brush or emery paper. Wash away loose dust and let the surface dry completely before application.
2. Ignoring Dampness, Leakage, or Active Cracks
The Mistake: Using wall putty as a "quick fix" to hide damp patches, water seepage, or structural cracks.
The Impact: Trapped moisture pushes against the putty layer, causing blistering, bubbling, and efflorescence within weeks.
The Fix: Treat active leaks and apply proper waterproofing/crack repair mortar before applying wall putty.
3. Incorrect Water-to-Putty Mixing Ratio
The Mistake: Adding water arbitrarily without measuring, or adding excess water to increase workability and speed.
The Impact: Too much water weakens the polymer binder in the putty, causing it to become powdery and chalky after drying. Too little water creates lumps and trowel drag marks.
The Fix: Strictly follow the manufacturer’s recommended water-to-powder ratio (typically 35–40% water by weight). Mix mechanically using a slow-speed stirrer for a lump-free, creamy paste.
4. Exceeding the Pot Life (Using Settled/Re-mixed Putty)
The Mistake: Mixing a large batch and continuing to use it after it begins to set, or adding extra water to "revive" hardened putty.
The Impact: Re-tempered putty loses its cohesive and tensile strength, leading to micro-cracking and poor bonding.
The Fix: Prepare only as much putty as can be comfortably applied within 2 to 2.5 hours (its active pot life). Never add water to partially set putty.
5. Applying Excessively Thick Single Coats
The Mistake: Applying a single thick layer (greater than 2 mm) to level an uneven wall quickly.
The Impact: Thick layers shrink during curing, creating deep shrinkage cracks and hollow cavities underneath.
The Fix: Always apply putty in two thin coats (maximum 1.5 mm total thickness across both coats). Allow the first coat to dry fully before applying the second coat.
6. Skipping Proper Inter-Coat Drying Time
The Mistake: Applying the second coat of putty while the first coat is still damp.
The Impact: Moisture gets trapped between the layers, causing soft spots, delamination, and uneven drying.
The Fix: Allow the first coat to dry for at least 4 to 6 hours (depending on ambient humidity and temperature) before applying the finishing coat.
7. Over-Sanding or Using the Wrong Sandpaper Grit
The Mistake: Using coarse sandpaper (like 80 or 100 grit) or rubbing aggressively over dried putty.
The Impact: Creates visible scratch lines and grooves that show through the final paint finish.
The Fix: Use fine waterproof emery paper (320 or 400 grit) with gentle, circular hand motions to remove minor trowel marks and achieve a satin-smooth finish.
8. Skipping Primer After Sanding Putty
The Mistake: Applying paint directly over sanded putty to save time or cost.
The Impact: Sanded putty leaves fine dust on the surface. Without primer, the wall rapidly sucks the moisture out of the paint, leading to patchy absorption and poor paint durability.
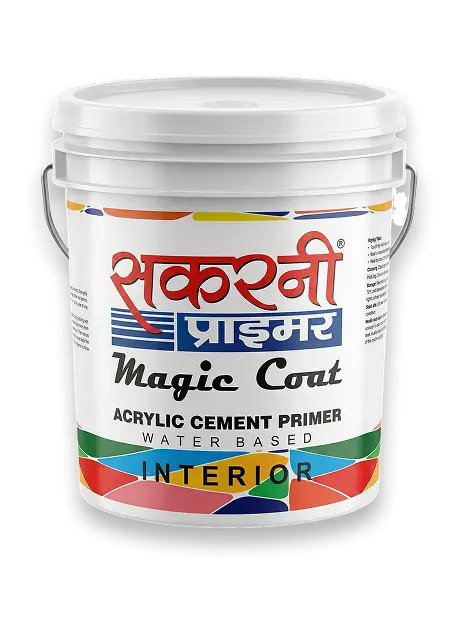
The Fix: Always dust off the wall and apply a coat of water-based interior/exterior wall primer before applying the topcoat.
Correct Step-by-Step Wall Putty Application Sequence
Step | Action | Key Focus |
|---|---|---|
Step 1 | Surface Cleaning | Remove dust, loose plaster, efflorescence, and grease. |
Step 2 | Pre-Wetting / Pre-Dampening | Lightly pre-wet absorbent plaster with clean water to prevent rapid drying. |
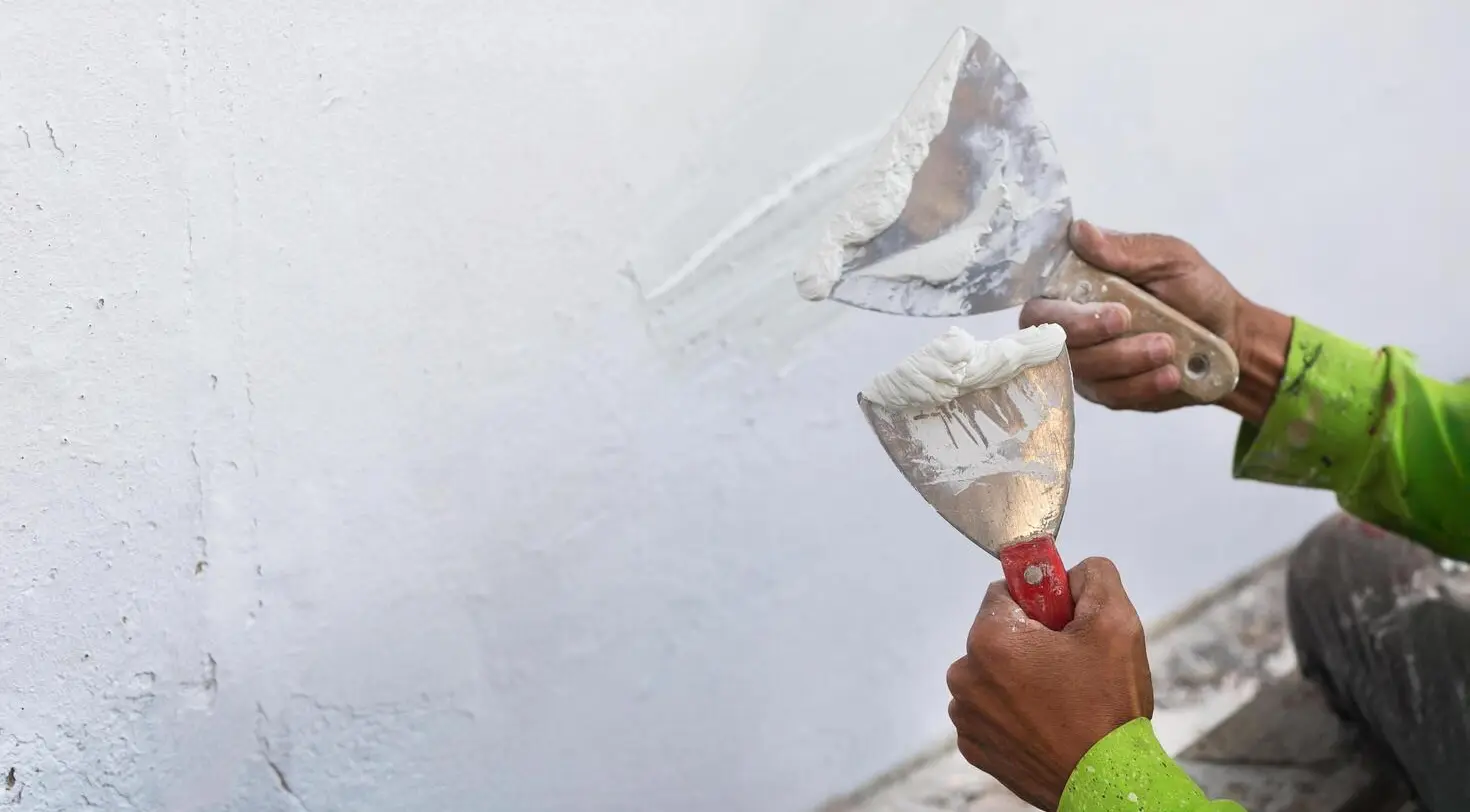
Step 3 | First Coat Application | Apply a uniform thin coat (approx. 0.5–1 mm) bottom-to-top using a putty blade. |
Step 4 | Drying Period | Let it cure/dry for 4–6 hours. |
Step 5 | Second Coat Application | Apply a second thin coat (0.5 mm) horizontally or diagonally to level trowel marks. |
Step 6 | Final Curing & Drying | Allow 12–24 hours for complete through-drying. |
Step 7 | Fine Sanding | Gently smooth using 320–400 grit emery paper and wipe away loose powder. |
Step 8 | Primer Application | Apply a dedicated wall primer to seal putty dust and lock in paint adhesion. |
Final Thoughts
Wall putty is the backbone of any quality paint finish. High-end paint cannot compensate for poor surface preparation.
By avoiding excess thickness, maintaining proper mixing ratios, respecting curing times, and always applying primer after sanding, you ensure your walls achieve a glass-smooth, durable, and peel-free finish for years.